My husband recently found out he needed to go overseas, and I decided I should whip up a quick raggy quilt to keep him warm! I have been quilting since I was a teenager and have a lot of experience, and decided I should start sharing that with you all! The fabric I used for this quilt was all flannel fabric I had on hand already, but feel free to go to any of your local quilt, or fabric shops close to you!
If you are a new quilter, or don’t even know how to use a sewing machine, it’s ok! This pattern is very basic and can be customized as you advance or work up the courage!
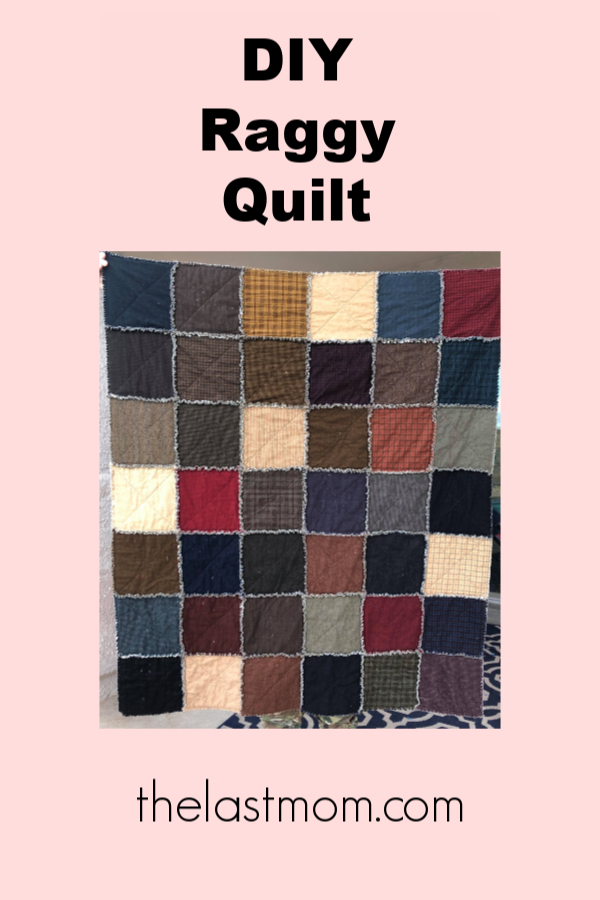
DIY Raggy Quilt
Materiels needed:
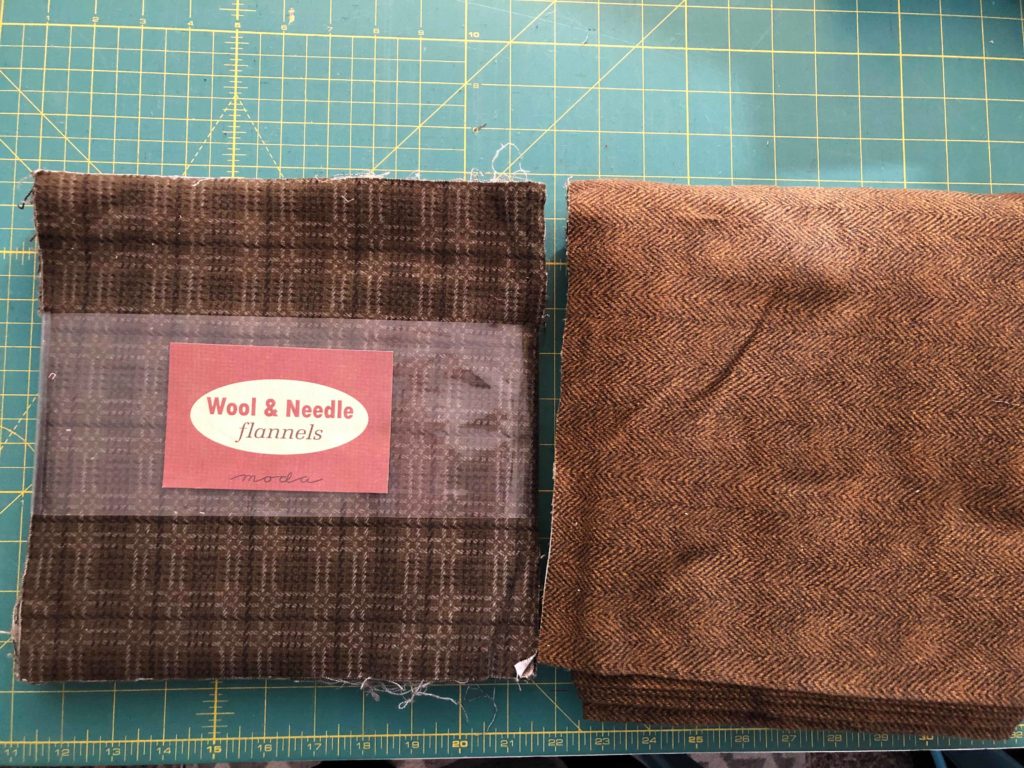
Flannel Layer cake or 42- 10″ squares (3.5 Yards) (I used Moda “Wool & Needle” which is now hard to find, but here is something similar, click HERE)
3.5 yards of flannel for backing OR an additional flannel layer cake for the back
1. If you do not have a Layer Cake, use your 3.5 yard cut, and line your fold towards you. 2. Straighten your left side and cut 11, 10″ strips using your cutting mat as your guide if your ruler is not wide enough. 3. Sub-cut your 10″ strips into 42, 10″ squares, set aside
Backing-
1. Repeat the same as above, if you do not have a layer cake.
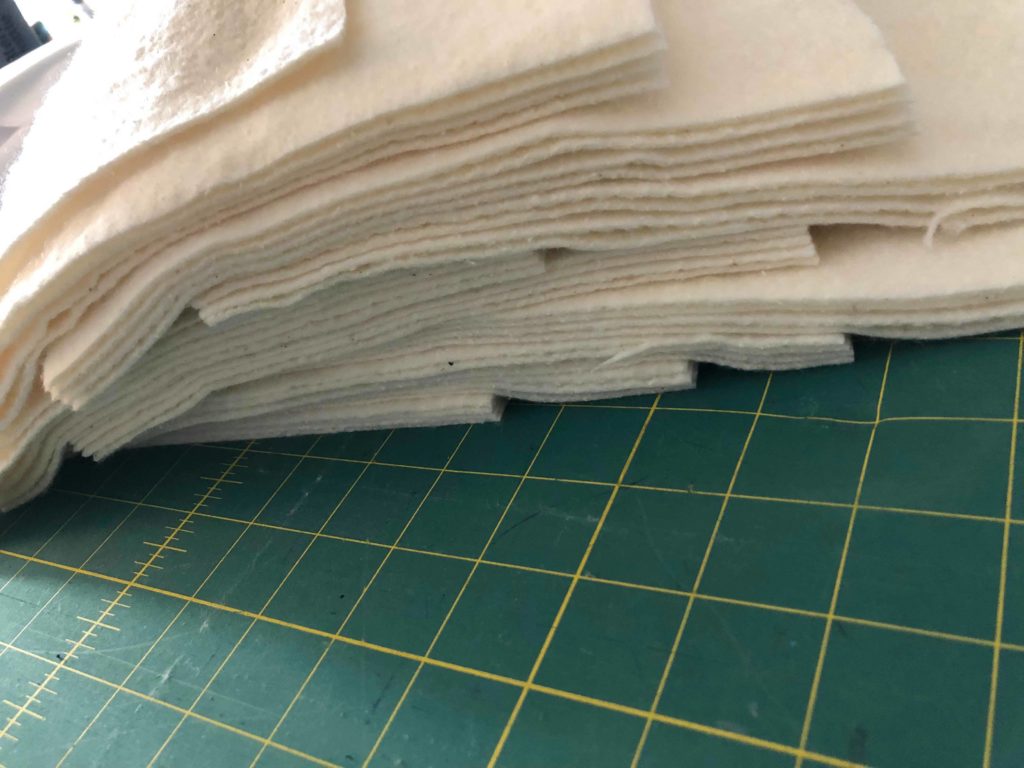
Batting-
1. Using the same cutting method as above, cut the batting into 9″ squares, until you have a total of 42.
Quilting your squares:
Take your backing fabric and lay it right side DOWN, like shown
Place a batting square in the center
Lay a front square on top, centered like shown
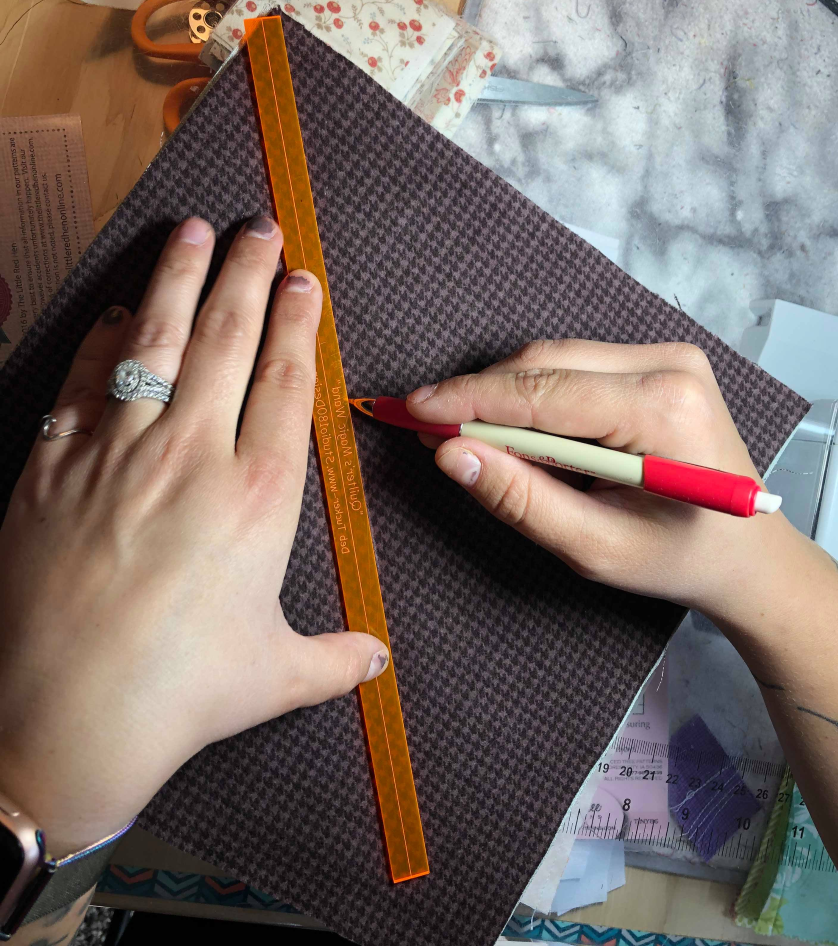
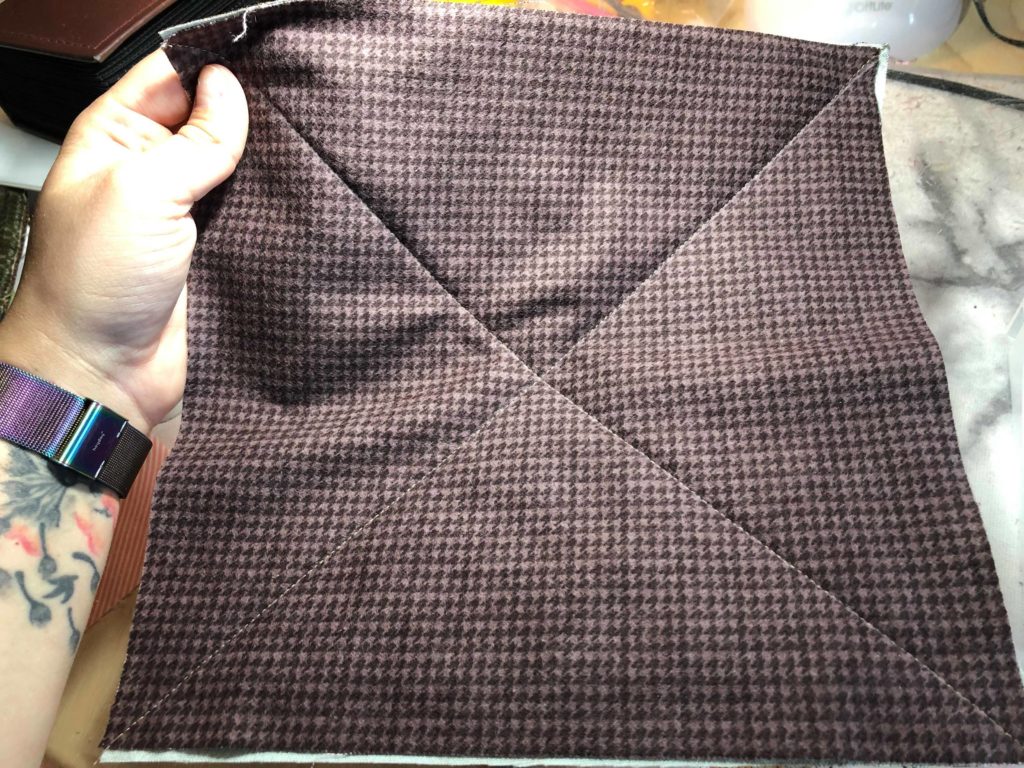
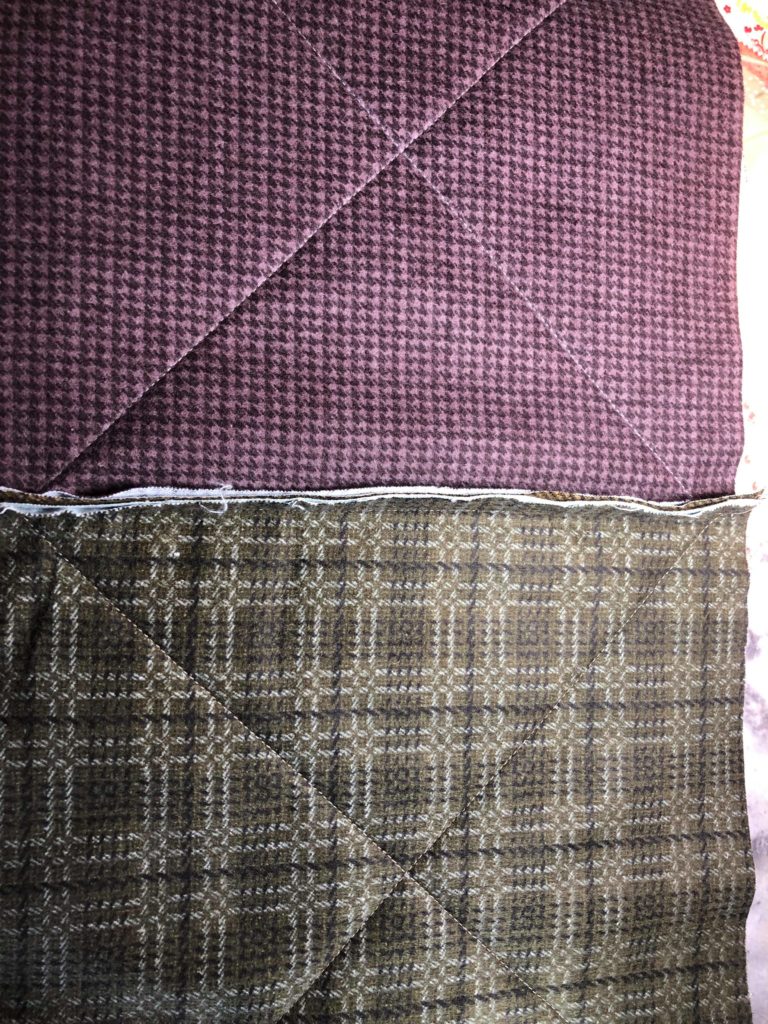
4. Using your chalk pencil and any straight line, draw a line from one corner to the opposite corner
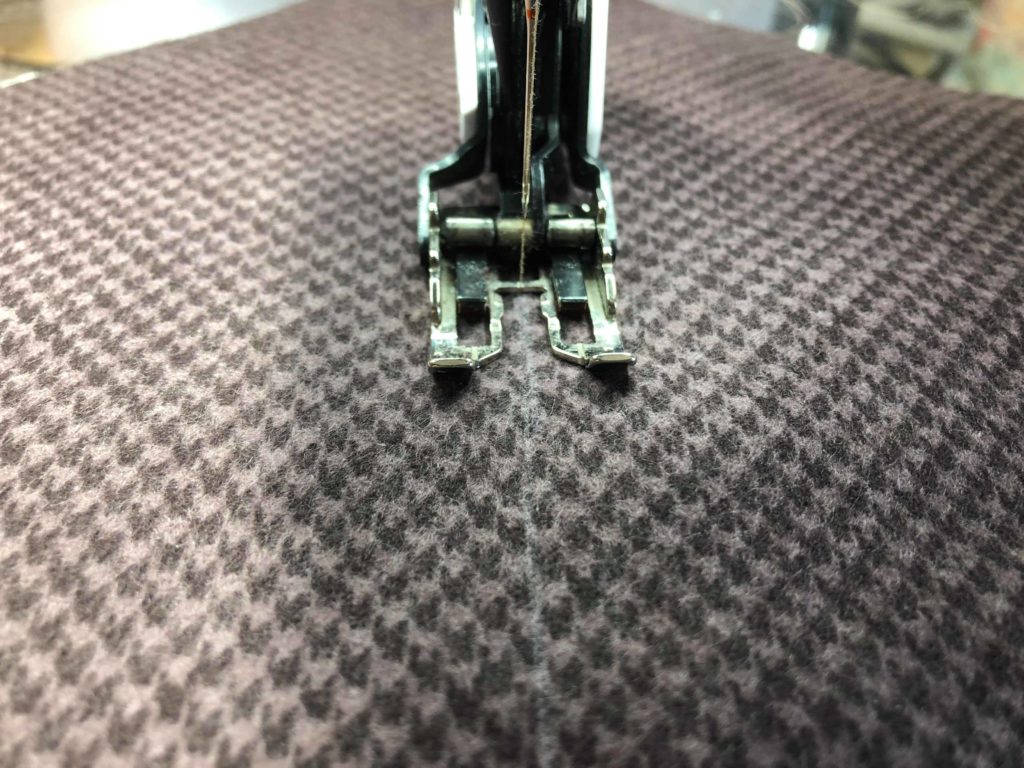
5. Using your Walking Foot if possible, or your favorite foot, sew right on your chalk line from corner to corner
6. Repeat step 4 going the opposite direction, to create an X pattern on your block. If your block has any overlapping on the edges, it will be ok and won’t be noticeable in the end! Repeat this on all 42 blocks.
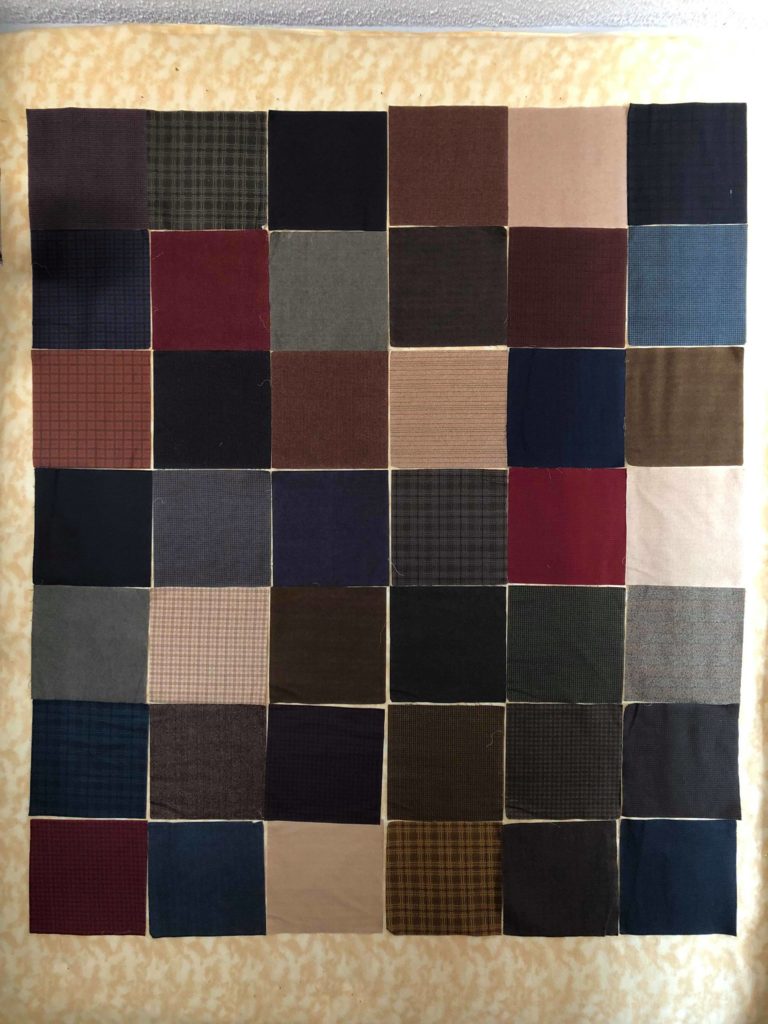
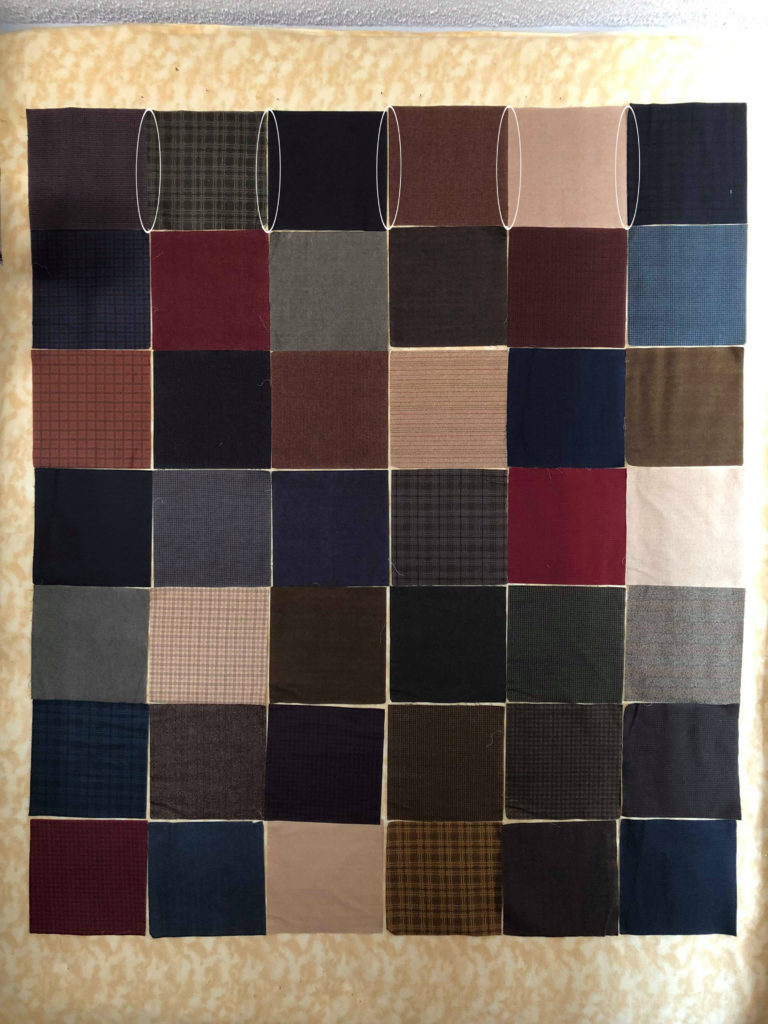
LAYING YOUR QUILT OUT:
I use a “working wall” that is a hard foam wall covered in flannel, but you can use a floor, or a bed! Take your 42, 10″ squares and lay them out 6 across and 7 down like shown above. Try and spread out any colors that really stand out. I tried to spread out my red and cream tones in this quilt.
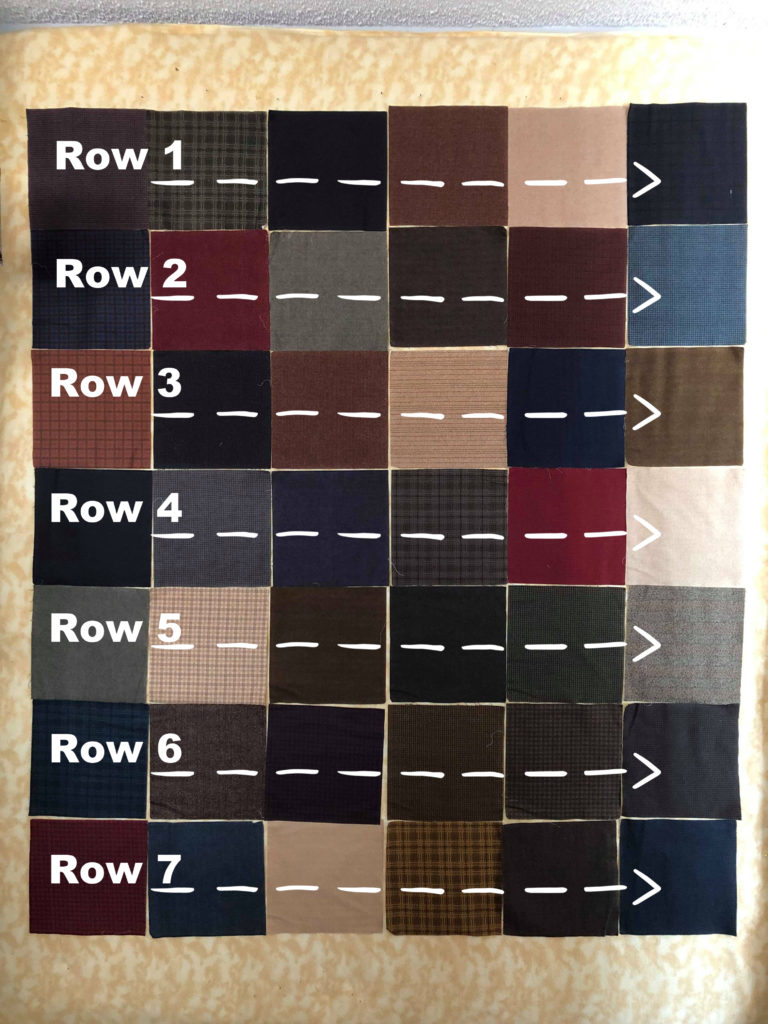
Sewing your seams together:
1. Work in rows as shown below 2. Lay square 1 and square 2 WRONG SIDES TOGETHER (aka the backs should be touching) 3. Sew a 1/2″ seam without any back stitching and repeat the same thing with blocks 3 and 4 then 5 and 6 4. Continue this method until you have all of row 1 pieced together Note: Normally I am a freak about pinning at the beginning and end, but when you are working with the flannel it tends to stick really well to each other and as long as you line it up well when you stack them up, it shouldn’t shift too much. If you would like, you can pin the beginning, middle and end to keep the blocks in place while piecing them.
Another reference for where you should be sewing. Raggy quilts are different than a normal quilt, and have a “raw” edge on the front to give the raggy edge look in the end. It might feel backwards if you have quilted before. If you have done other piecing projects, you would put right sides together and piece it, making the raw edge on the back, this would be opposite. You are putting the wrong sides together, piecing it, and leaving the raw edge on the front.
This is how your blocks should look once you are putting them together!
PIECING THE ROWS:
1. Once you have sewn all 7 rows together from left to right, it is time to sew row 1 to row 2. Using a 1/2″ seam, putting WRONG SIDES TOGETHER, match up your block intersections, pin and sew the rows together.
2. Repeat the method above until all of the rows are pieced together to complete your raggy quilt.
3. DO NOT FORGET!! – once all rows are pieced together, you must sew a 1/2″ seam around the ENTIRE outside of the quilt to keep it together!
FINISHING YOUR QUILT:
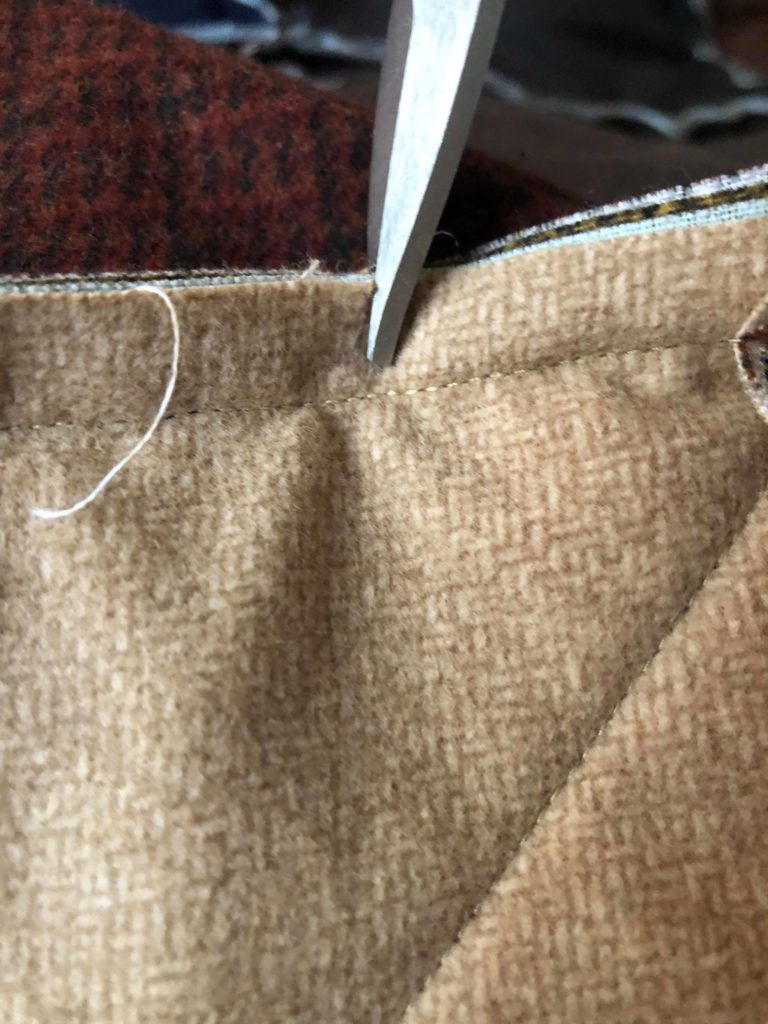
Using a pair of scissors or rag quilt scissors (click HERE) make a cut about 1/2 way down on all seams including the outside edge. I recommend making the slits about 1/2″ apart. DO NOT CUT YOUR SEAMS!!
Put your raggy quilt in your washer on a fast wash with fabric softener only, then dry on a normal cycle.
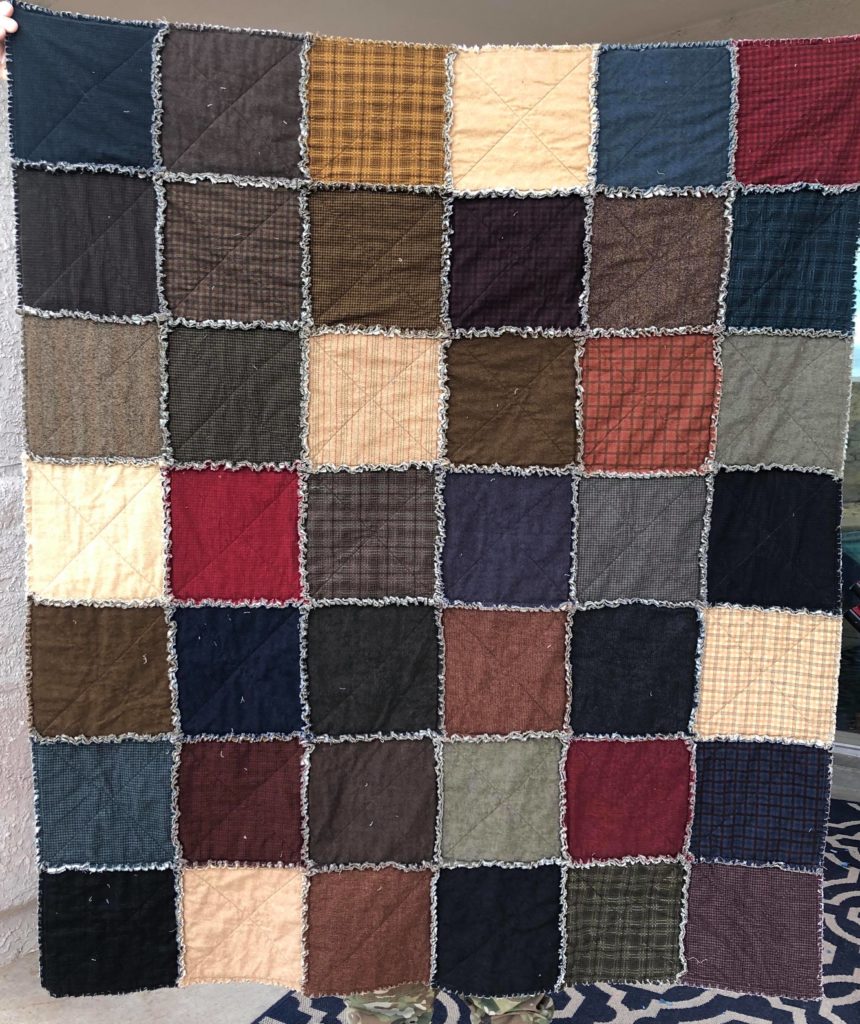
And tada! You will have your very own raggy quilt! Play with the colors, and designs! You can make these in so many variations, and add so many twists! I will share some pattern ideas, and measurement guides to size this up or down! I hope you find the courage if you are new to sewing to just go for it! Share your finished pictures with me!!